3. 3D print#
This week, we got to print our prototype from module 2 and so, we learned to use the 3D printer and also printaslicer. Eventhough we all had already done our prototype, most of us had to change some parameters to print them and that’s why our code had to be parametrized.
this module will guide you to realize a 3D prototype with the Prusa i3 MK3S/S+ printer
Common problems#
Openscad is a great app but it doesn’t take physical constraints into account which may cause problems to print your piece :(
Randoms problems that you should be careful of:
- detachement of your piece
- strands creation
- speed of the machine may cause mini errors
- Size of the nozzle is not infinitely small
- the printer doesn’t do good with void
There are a lot more but these were the problems that occured to me and that I wanted to warn you off
Export the 3D model#
After finishing your prototype on OPENSCAD (or freescad), you can export it in it’s .STL version.
An STL file is a 3D model saved in the Stereolithography (STL) file format developed by 3D Systems. It contains plain text or binary data that describes a set of triangular facets.
This is what my STL file looks like when it’s embed in a 3D viewer
PrusaSlicer#
When you have your .STL file, you’re gonna need to download a slicer.
Slicers allow you to convert STL files (or equivalents) into g-code files containing specific print parameters such as print accuracy or the need to use media.
In this lesson, we download Printaslicer because we use Prusa printer and it’s an app that’s linked to these printer specifically.

Config the slicer#
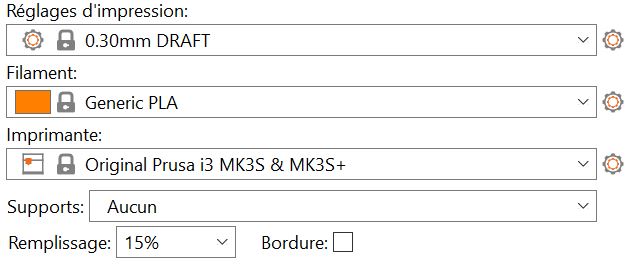
The first thing you’re gonna have to do is to config the slicer.
The parameters that you’re gonna put are:
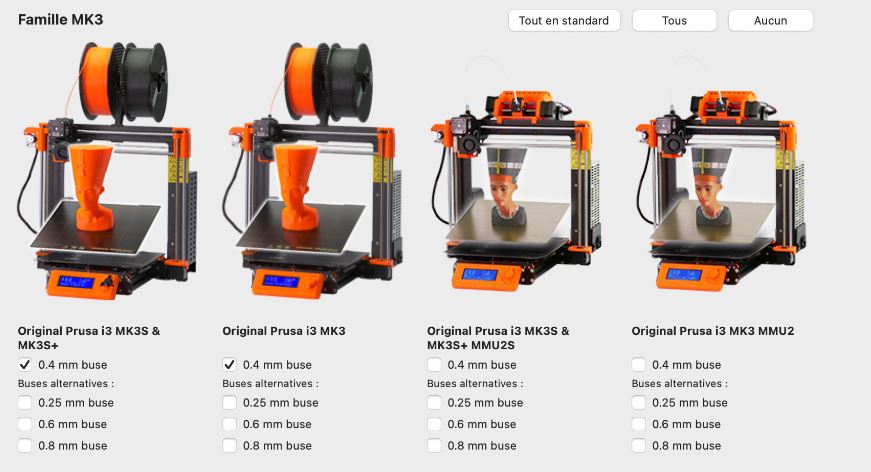
- Original Prusa i3 MK3S/MK3S+
- 4mm Nozzle
- 0.20 or 0.30mm strand (depends how precise you want to be)
- Generic PLA as the type of strand you’re gonna use
- filling between 10 and 20% (how strong your prototype will be)
How to use PrusaSlicer#
Now that you’ve configurated the app, you can finally see your .STL code on it.
This is what my prototype looks like on printaslicer
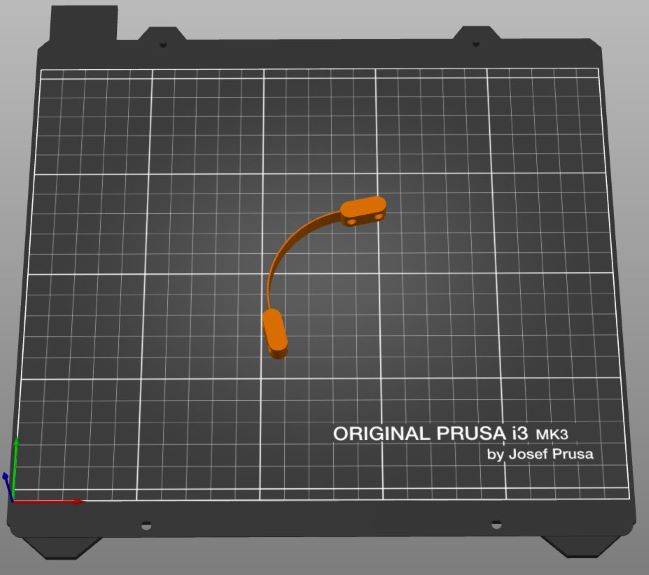
PrusaSlicer makes it easy to import 3D models in .STL format and arrange them on the print surface.
The software allows the workpiece to be oriented so that the contact surface between the workpiece and the print bed is maximized.
This reduces the likelihood of the part not successfully being printed!!
If you wanna know how long it’s gonna take and also see all the steps you can click on aperçu
It’s gonna give you something like 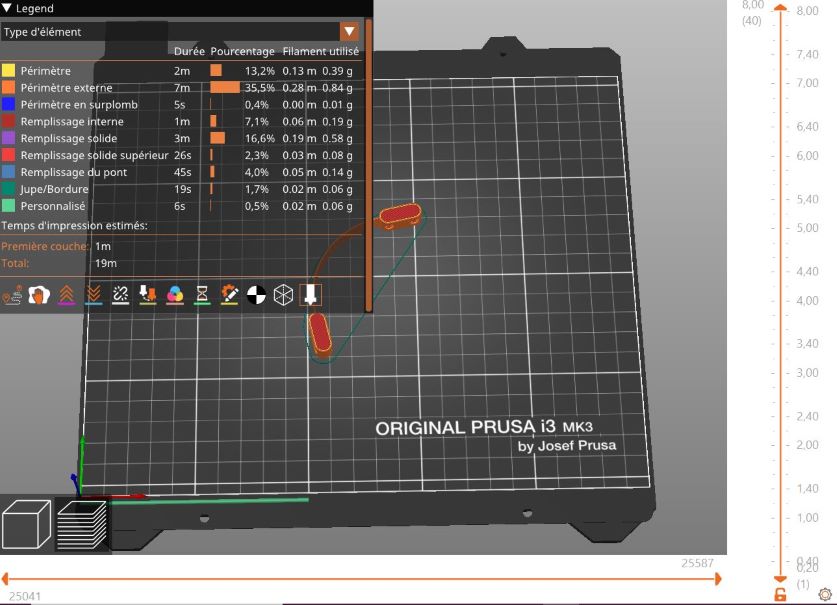
It’s interesting to put a border of 5mm when you print beacuse it will stabilize your ptototype and decrease the chances of failure.
If your prototype is quite tall, you can also chose to use supports ;)) but be warned that they are hard to take off your prototype after printing.
When everything is ready, you can découper maintenant and if no errors appear, you can exporter le g-code.
Real printing part#
To proceed with the printing, you need to put the .gcode file on a support that will be readable by the printer (in this case a SD card).
Once the SD card is inserted, you can navigate through the printer menu until you find the file you want to print and click on Print.
The printer will first heat the nozzle and print bed, and then start to print your prototype (yeehawwww)
If you see that you have a detachment or that something is not right, directly press on pause impression!!
Error#
For your information, i’m gonna discard my first error.
As you can see in the video, there were a lot of strands and also my prototype was detached but I had never printed anything in my life so I had no idea that it wasn’t right (yeah im dumb)
oups
This error gave me this in the end:
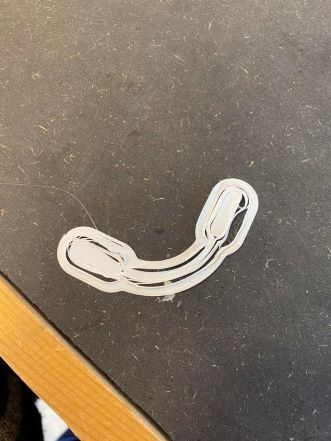
Yeah not really what it was supposed to look like… I know! But that’s the whole point of this course, to make error!!
Final product#
I tried again and this time I got my final product :))
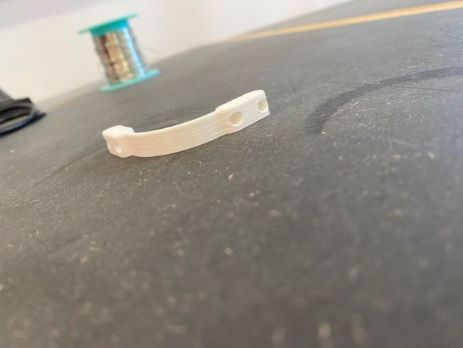
My prototype is supposed to be the flexible part of the flexilink with Eliott and Emilie.
The first time I successfully printed it, I saw that it wasn’t flexible enough because I chose 2mm as thickness. I thought about it with my group and we decided to go with 0.7mm and it was a good choice.
As you will see a little bit later on the final video,the flexibility was on point.
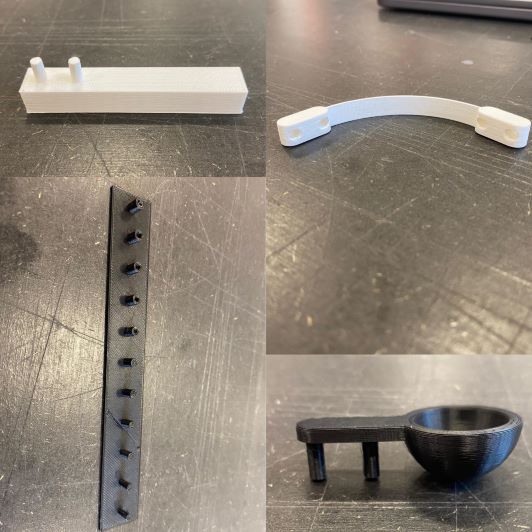
As I said earlier, last week we had chosen to make a little catapult.
We struggled a lot to get the good parameters so that the printing part wouldn’t take too long and also that the 3 pieces would fit together!
We made a test prototype to choose the size of the holes and cylinder on the pieces.
Here are the 4 pieces we made (including the piece to choose the holes size)
Final Flexylink#
Little video of the catapult working (click on the photo(it’s not a clickbait))

And also here’s a 3D view of the catapult:
Checklist#
- Explained what I learned from testing the 3D printers
- Explained how I identified my design parts parameters
- Shown how I made my kit with documentation
- Included my original design files for 3D printing
- Included images and description of my working mechanism